We use affiliate links and may earn commission from purchases made through those links.
Here are some of our favorite ideas to get you started no matter how you’re child likes to play.
Warning: You know your children best. If your child is still mouthing then provide appropriate supervision or wait until they have passed this phase as some ideas include materials that are deemed a choking hazard.
When I had my first son, I didn’t recognize or understand how important it was to encourage independent play. I believed it was my responsibility to embrace and engage in whatever he was interested in and never said no when he wanted to play. Today, of my three kids, he is still the one that has the most trouble playing on his own. Is this a result of his early development or just who he is as a person? I can’t say for sure but I think it’s probably a function of both.
When I had my second and third, they naturally were required to have more independent play. Because I could no longer give any one child my full focused attention, this was a natural bi-product. And in true parent fashion, we learn as we go. So I’m sharing with you my 5 no fail play tools that we use at home when I need to keep the kids entertained or having more independent play. Warning: You know your children best. If your child is still mouthing then provide appropriate supervision or wait until they have passed this phase as some items are deemed a choking hazard.
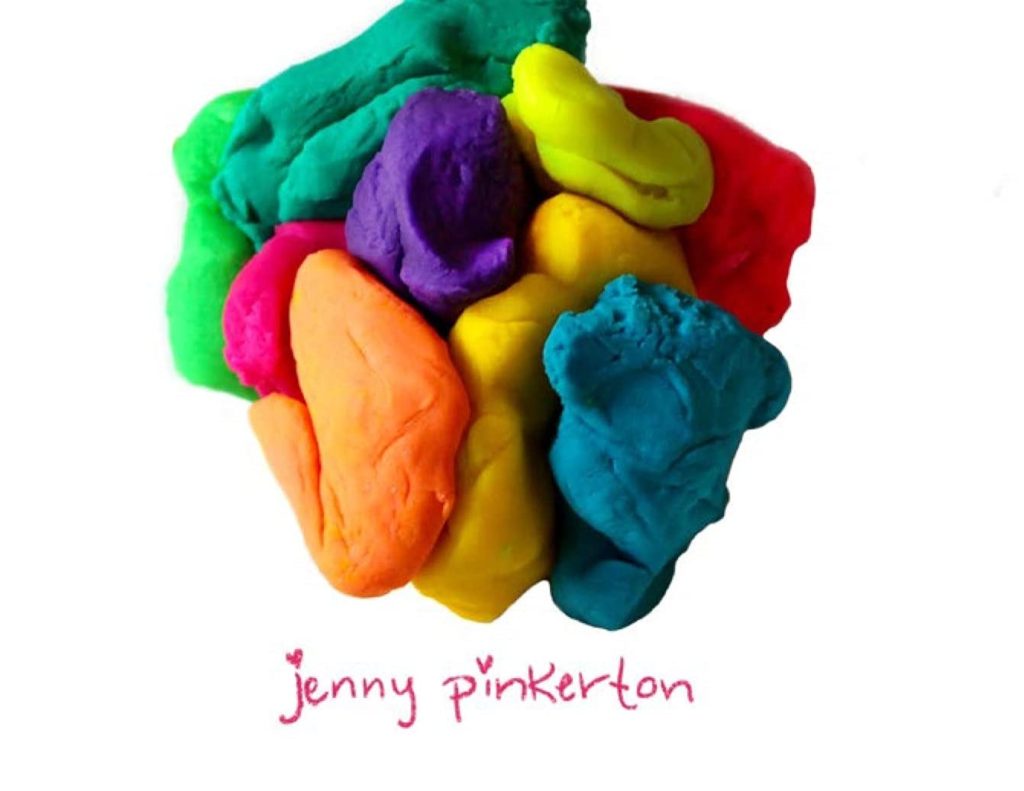
Clay is a great way to build hand strength and teach little hands how to manipulate materials. All my kids will sit for long stretches and work on their creations. My 7 year old is creating more detailed and thought out figures while my 4 year old is just starting to create characters instead of mushed clay. My 2 year old who is often mimicking her older brothers has started to make little balls and logs. Play with Clay is a great book for younger kids starting out to spark creativity.
2. Dot Stickers
Stickers are not only fun but very satisfying for toddlers. There is a sensory gratification in feeling the stickiness without the mess. And there is an end game! I always have dot stickers on hand because they are so easy and there are countless activities you can use them for. Such a simple item that has so much flex.
Not only do my kids love them but there were a staple in our toddler circle time class because kids love the colors, the shape AND they are easy to peel. Toddlers especially are starting to assert their independence and find gratification in doing it on their own. Parents of toddlers know how frustrated they can get when something is too challenging but dot stickers are something they can master easier.
Dot Sticker Activities
- Sorting
- Color identification activities
- Shape recognition activities
- Letter recognition
- Number recognition
- Fine motor skills
- Math activities
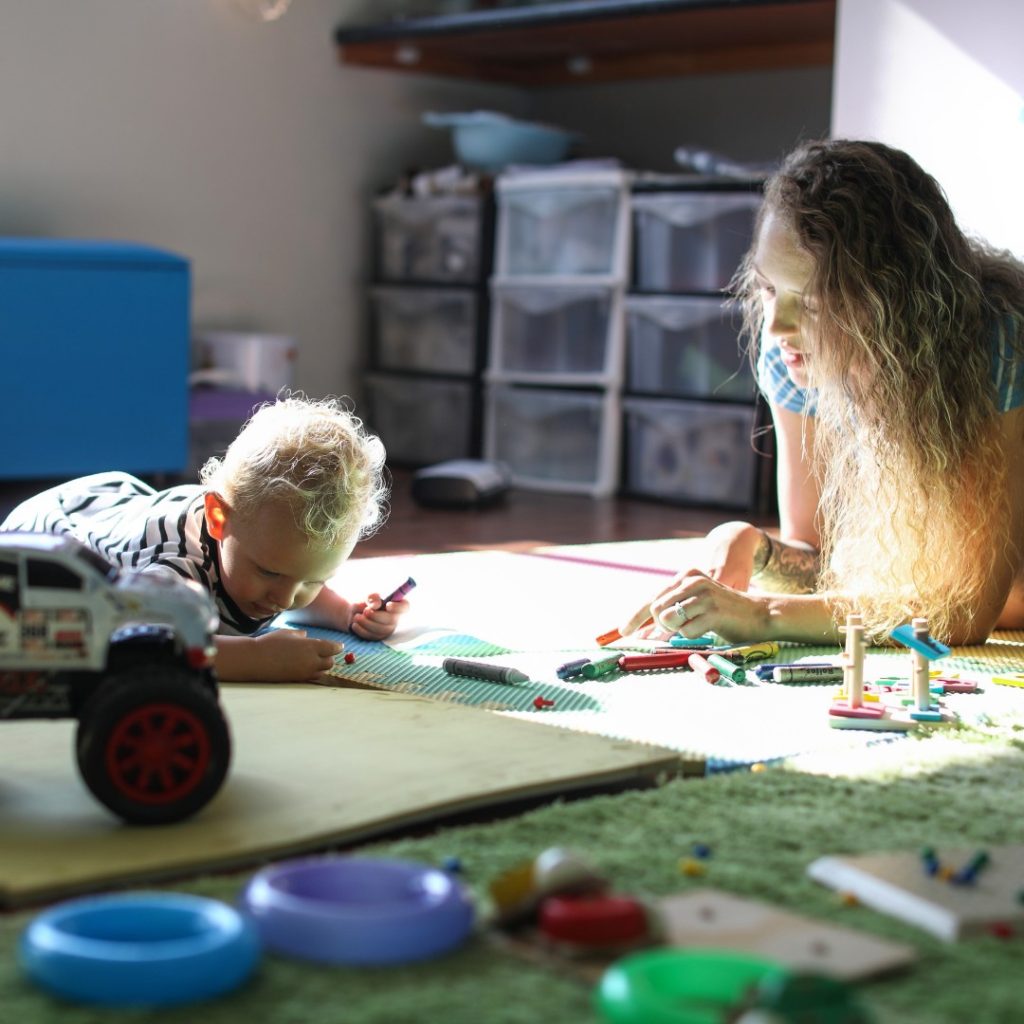
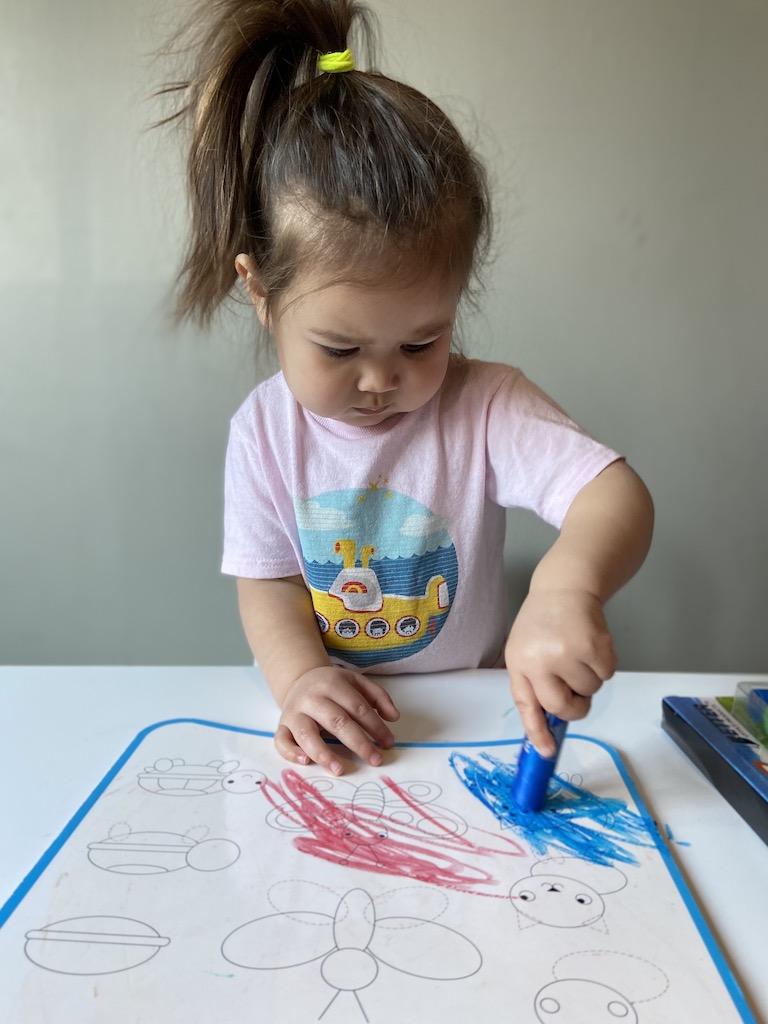
I can say that life changed a bit for the better once I discovered paint sticks. It was an easier and cleaner way to paint. If you’ve never heard of paint sticks, let me tell you. These are not large crayons but real tempera paint that feels like a giant glue stick and they make us all happy. They are easy for me to pull out, I don’t have to worry about drips, spills, water or brushes and it requires less supervision. My kids love all the colors available to them that allow for big strokes to fill a blank canvas. These are also a great option for outdoor creating when you don’t have access to water or for play dates when you want to reduce messy play.
These are especially great for toddlers because:
- They dry fast
- Cover more surface faster
- Don’t require much effort to see lots of return on effort
- Easy to grip and use
We love these but they are not a replacement for paint in our house, we have added them to our art supply stock!
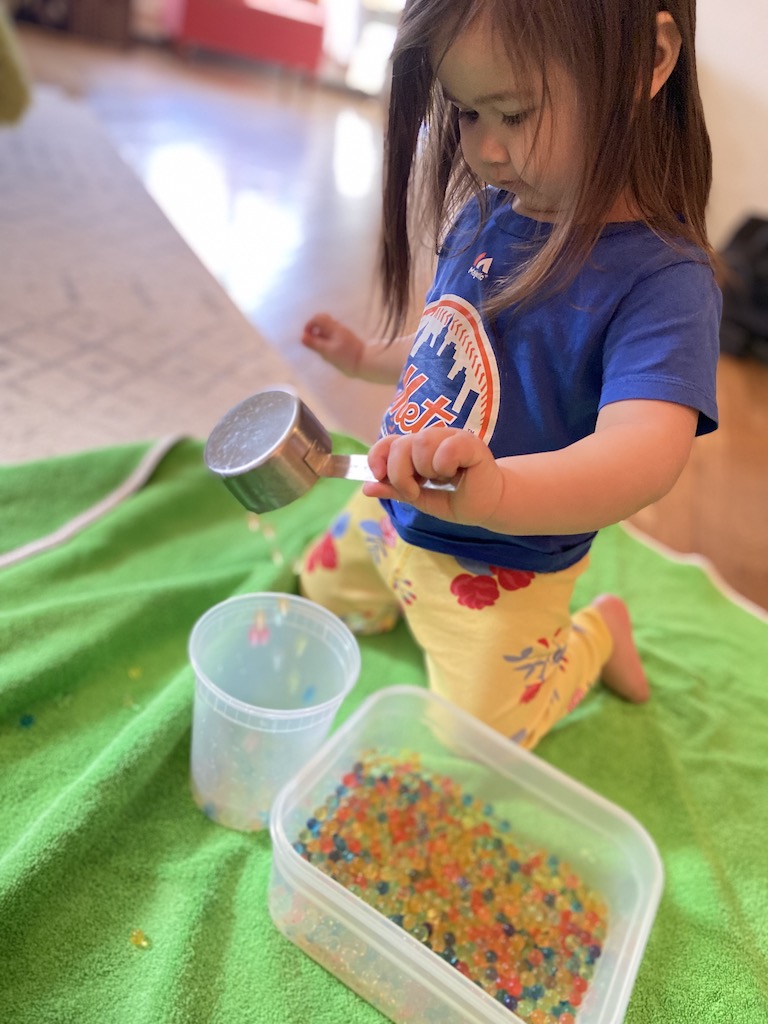
Water beads are the ultimate sensory and I love that a little goes a long way! One tablespoon of water beads will yield 8 cups of water beads and hours of fun. The simple act of growing water beads is so fun for kids to watch and observe. Add a few play tools and you can create so many new ways to play. They come in different sizes and colors so your only limitation is your imagination. Here are some of our favorite activities.
- World’s strongest alive – I have yet to meet a child that doesn’t love crushing a giant water beads. These grow larger so it’s easier for them to grasp, squish and smush. There is such power for little hands that is so gratifying. I’ve also found a rare occasion where I found the kids smashing them with their feet like grapes!
- Create a sensory bag. Using a zip lock draw a monster on the bag. Add water or gel and sensory beads and have then feed the monster by moving beads into the monster’s belly
- Scoop and transfer. I give my kids measuring cups, spoons, scoopers and take out soup containers and they will scoop and dump on repeat.
- Frozen water beads. The kids love this one! I take whatever their favorite figurines are at the moment and set it inside a container of water beads. I pop them in the freezer overnight. When I really need to recenter their energy, I pull this out and give them tools to see who needs saving.
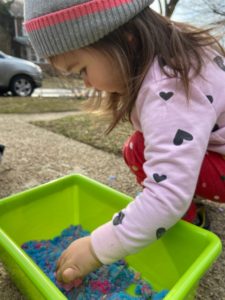
- Pool party. We use blue water beads and add them to a small plastic pool. Pop in our favorite sea animal figurines, seashells, a boat and scoopers and we get endless fun. This can be done a variety of different ways with all types of figurines but we call this our animal house pool party.
- Small world play. This can be done a variety of different ways with all types of figurines or action figures with some accessories and scoopers to transport your child into a new world.
Let me count all the ways kinetic sand has made its way to my heart. I love playing with it as much as my kids. Yes, a 41 year old mom of three will happily sit with my kids and play. I only discovered it a year ago and we are still finding new ways to play with it.
What makes kinetic sand so interesting is the texture and sensory gratification. There is a silkiness to the way it feels. And similar to oobleck, it’s fascinating how it is a solid that can turn soft with gravity. So here are all the ways we’ve discovered how to play with kinetic sand.
- Mold and play. We use sand toys to mold and build but kinetic sand is much easier to mold and no need for water! We started with the National Geographic Play Sand Combo Pack and never looked back. The kids really loved the different colors too.
- Search and find. My kids love hiding toys in the sand for someone else to dig and discover.
- Egg-cavator. While molding sand with my hand, I found i had shaped it into an egg. And my kids had thrown little figurines into the bin so I took a mini dinosaur and shaped an egg around it. I give it to my 2 year old and told her to crack it open and her eyes just lit up when she saw the surprise inside.
- Letter writing. To get my 4 year old to practice writing, I bring out the sand and it feels less like a chore.
- Cookie smash counting. My daughter loves counting and one of the activities we used to help her practice was rolling cookie dough balls and letting her smash each one as we counted.
A Tot’s Life Learner is a HOPS digital learning program gives busy moms back your time, saves you stress from planning and provides loads of hands on fun and learning for your child.
Save yourself stress, time and money by subscribing for more ideas, tips and activities for play and learning at home.